Light fixtures, faucets, doorknobs... it's in pretty much every room. I am not a fan.
My metal of choice (for this house at least) is oil-rubbed bronze. It's that brownish-black wrought iron looking metal that everything in Pottery Barn is made of.
Like this pretty pendant light:

I don't know if you've ever shopped for light fixtures, but they aren't cheap. This little beauty pictured above is $300. Yeah, I know. For one light fixture. The cheapest oil-rubbed bronze pendant light I could find at Lowe's was about $70. Since I need to replace basically every light fixture in my house, you can see how this would get expensive very quickly.
So, I decided that I should salvage any that I could by spray painting them. I saw someone else do this on a blog, and it worked out well, so I decided to try it out on the pendant light in my front entryway.
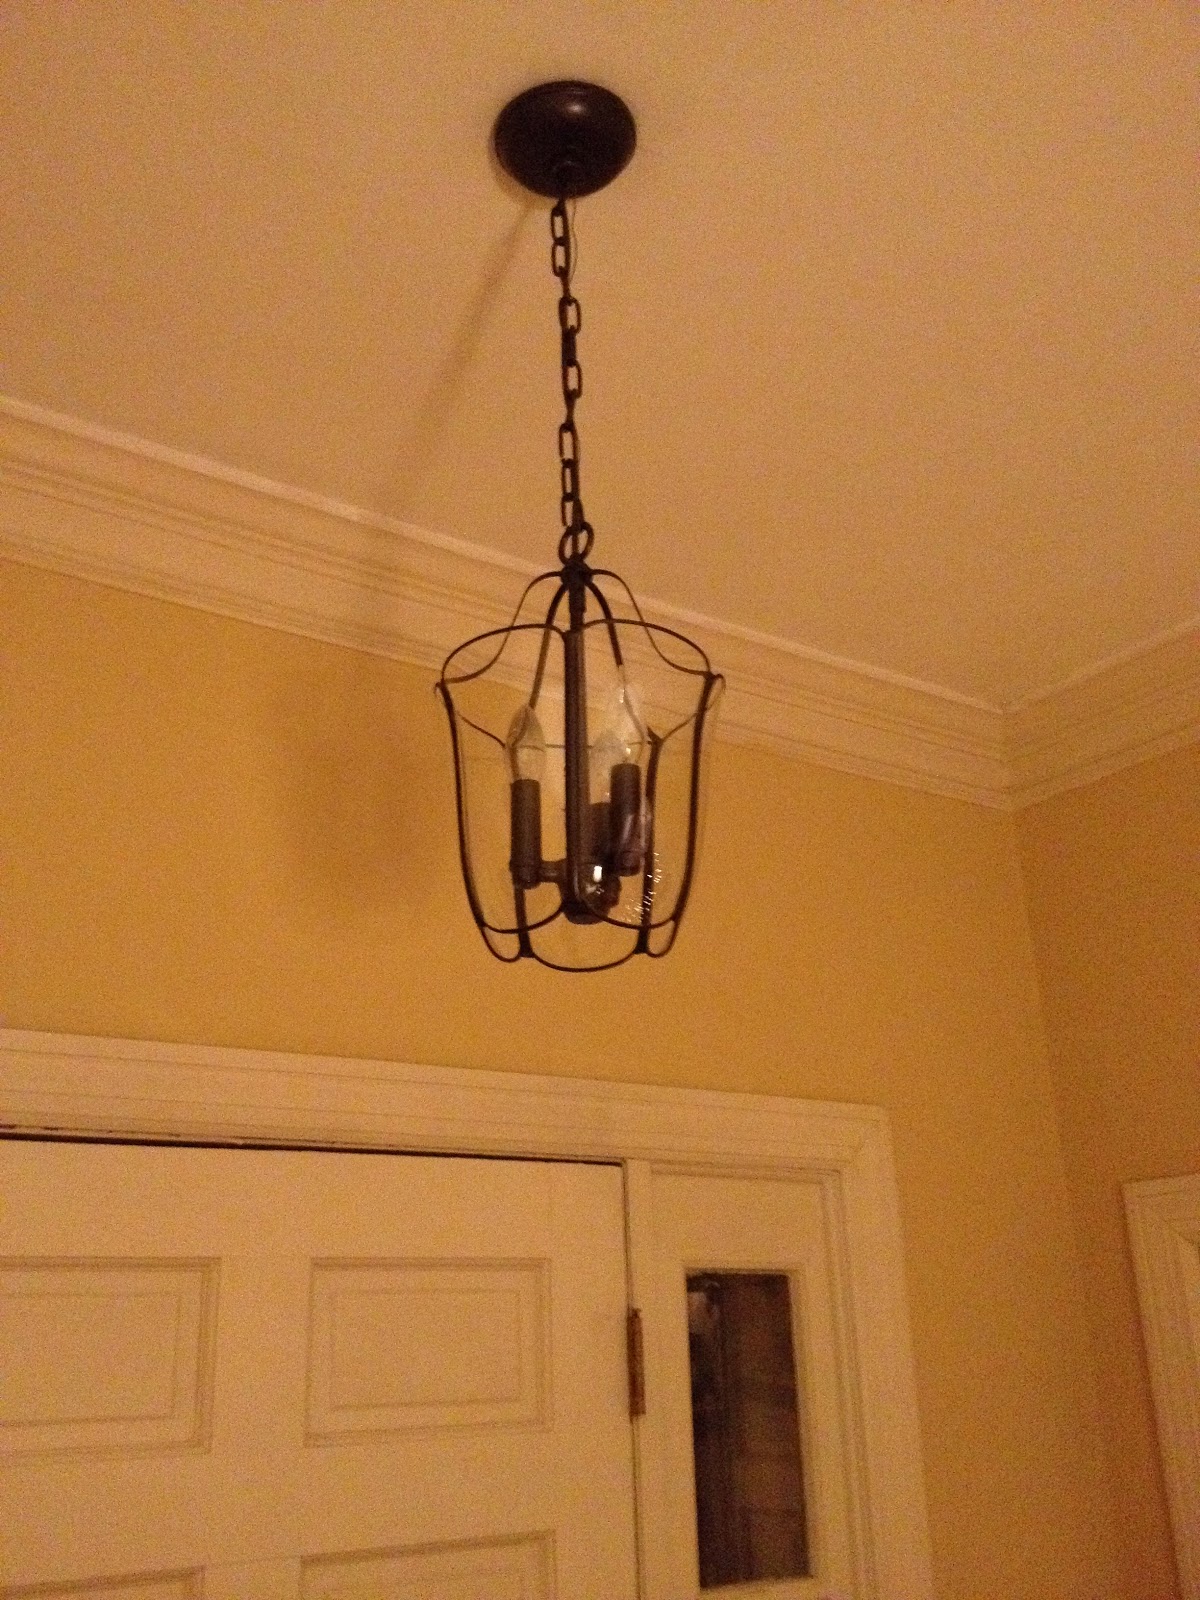
Here's what it looked like before.

The yellow walls in this picture look super gross since I had to enhance it (it was dark). They're actually a lighter, golden yellow...but we're going to paint them a stone color anyway.

The rest of the pictures are at my parents' house, in case you're paying attention to the background.
Anyway, about the light...the glass would not come out. It was sort of tragic. But I was determined to make this happen. So I painstakingly taped up each weird, curvy little panel (front AND back) with paper and painter's tape:


This is the paint we used. It's about $8 at Lowe's.
They have several other metal finishes as well.

side note: I just love my mom's fall tablecloth.
Her bright Fiesta dishes look so pretty with it :)
Spray painting: the trick is not to go too heavy. Patrick is a more experienced spray painter than me, so he showed me how to apply a nice light coat so it wasn't all drippy. He would start spraying the paint on the newspaper, then move the stream of paint carefully over the metal. This helps it to be a smooth coat.


After a second coat of paint and a little Windex, this was the result:

aaaand, here it is hanging in our entryway:
I'm so happy with the result! I plan to use this trick on several other light fixtures in our house, as well as a mirror in the bathroom and maybe some other hardware...it's such a cheap fix!
ps. just wanted to share a cute little craft I made the other day: an earring holder made from a $2 Goodwill picture frame (that I painted white) + some burlap that I hot-glued to the back. I like how it turned out :)


pps. Here's our Christmas tree, which makes me really happy :)

I just love Christmas! I have been pinning lots of fun Christmas crafts on Pinterest lately. Hobby Lobby, watch out...I have scoped out your sales online, have a list and a coupon, and I'm coming to see you tomorrow. You have been warned. ;)
No comments:
Post a Comment